50.3 Getting Started and Demo Data
50.3.1 The getting-started card 
As long as no profiles exist, the main window shows a guide card with two steps:
- Create a profile - choose the folders to monitor and define what should happen to detected e-invoices (button Create new profile...)
- Done - the program monitors the folders automatically from now on
Plus the Set up demo button and the link to the online help.
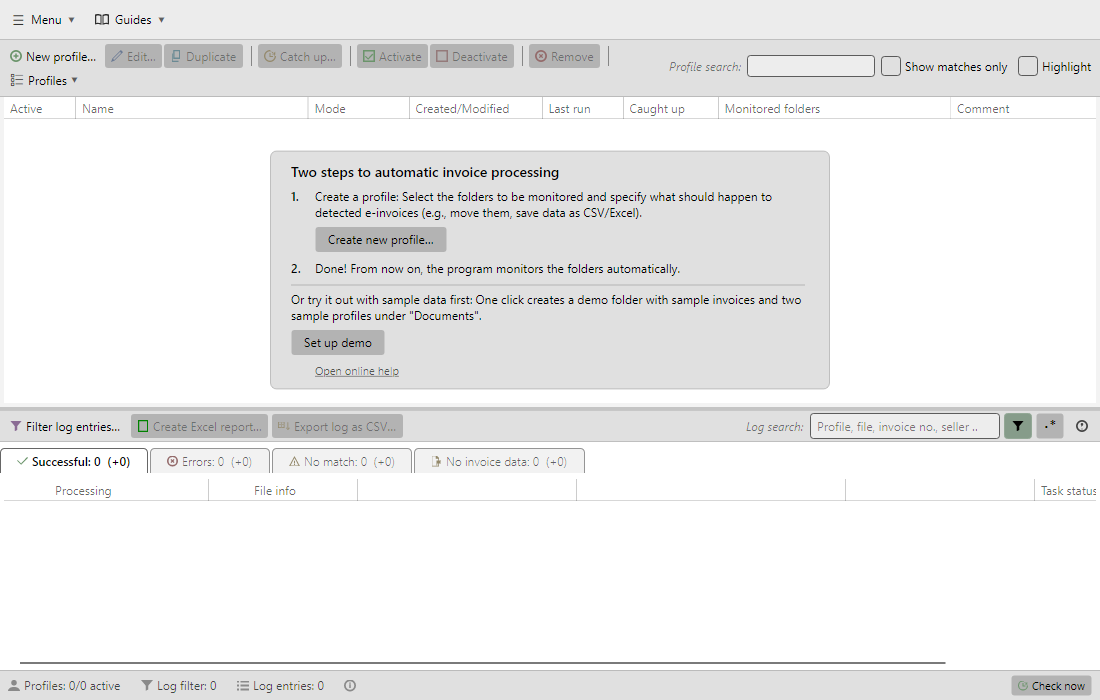 Getting-started card in the main window
50.3.2 Set up demo 
Set up demo builds a harmless playground with one click:
| Part |
Content |
| Demo folder under "Documents" |
With the subfolders Invoice inbox and Archive |
| Sample invoices |
Bundled demo invoices (ZUGFeRD PDF as well as XRechnung CII and UBL) are copied into the invoice inbox |
| Two sample profiles |
Demo: ZUGFeRD invoices (PDF) and Demo: e-invoices (XML) - one per mode, both monitoring the invoice inbox |
The demo profiles move each invoice with a descriptive placeholder file name (<InvoiceYear>-<InvoiceMonth>-<InvoiceDay> <SellerName> <InvoiceId>) into a year subfolder of the archive and write the key data to a collective CSV file ("Invoice data") - a typical basic workflow to inspect and adapt. After setup, the program reports how many sample invoices were placed; processing starts automatically.
Tip: The demo profiles are regular profiles - open them by double-click and study mode, tasks, and placeholders as a template for your own profiles. When you no longer need the demo, simply remove the two profiles and the demo folder.
50.3.3 The recommended path to your own profile 
- Create a profile, choose the mode (see chapter 8.7), define the monitored folders (see chapter 8.8)
- Store a typical invoice as an example invoice (see chapter 8.9)
- Configure the tasks and verify them in the result preview (see chapter 8.11)
- Only then feed real invoices into the monitored folder