Step-by-step instructions for automatically printing emails and attachments with Automatic Email Processor for Windows
This how-to shows how to send incoming messages and their attachments straight to a printer - sorted, double-sided, with or without a cover page. The example used here is the daily printing of incoming PDF invoices together with the cover email for the accounting team.
At a Glance
- Difficulty: Beginner
- Time required: about 15 minutes
- Prerequisites: A profile with a configured email account and monitored folder (see Getting started). The desired printer must be installed in Windows and added in the program options under Printers.
- Example: Print incoming invoices daily on the accounting printer - the cover email in portrait, the PDF attachments containing “invoice” in the file name, double-sided
Step 1: Add the printer in the program options
Before the program can print, the printer must be added once under Program options → Printers. Once added, the printer can be used as an output device in any profile.
- Open File → Program options.
- Switch to the Printers page.
- Click New printer….
- Enter a meaningful name (e.g. “Accounting B/W”) and pick the matching Windows printer from the list.
Tip: If you want to inspect the print output without wasting paper, choose a PDF printer like “Microsoft Print to PDF”. The result can then be reviewed on screen. If you later select a PDF printer in the task editor, additional fields for PDF folder and PDF file name appear - so the “printout” lands directly as a PDF file in a tidy folder structure.
Step 2: Add the “Print message” task
Open the profile and configure the printing of the message itself first.
- In the task toolbar click Add….
- Select Print message from the menu.
- In the Printer field, pick the printer added in step 1.
- Enable Print message header so that sender, recipient, subject and date appear at the top of the first page - this makes it easy to tell later which mail a printout belongs to.
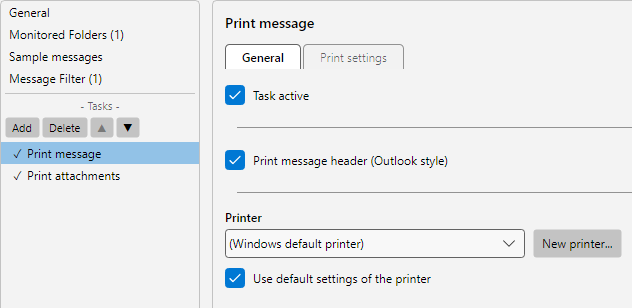 Print message - General
Step 3: Add the “Print attachments” task
Add a second task to the same profile for the attachments.
- Add… → Print attachments.
- Pick the same printer again.
- Leave Process embedded images disabled if only the real file attachments should be printed - embedded logos and signature images are then left out.
Step 4: Adjust print behaviour
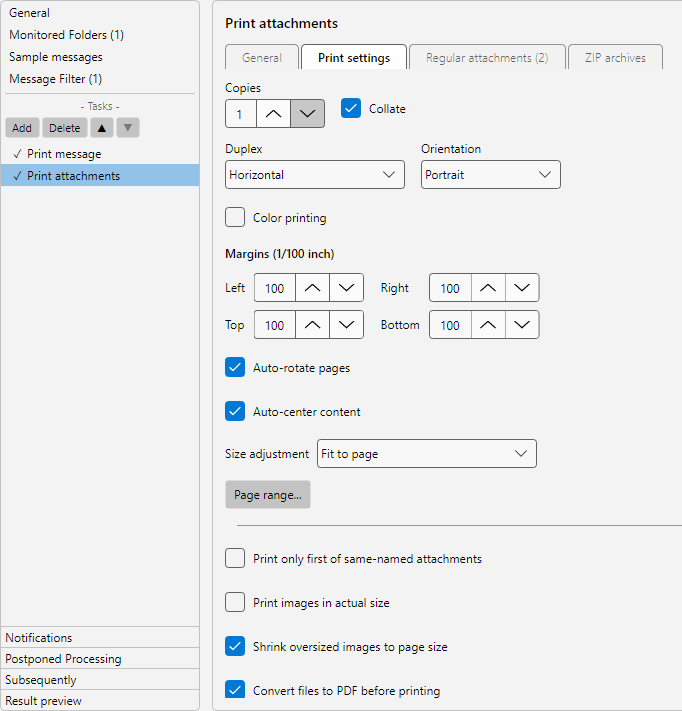
If you want to deviate from the printer’s default settings, untick Use printer’s default print settings on the General tab and switch to the Print settings tab.
The two most common knobs:
- Duplex for single- or double-sided printing (e.g. Horizontal for the typical bookbinding edge along the long side).
- Orientation Portrait or Landscape - combined with Auto rotate pages the program rotates the attachments to fit the paper as best it can.
Further options like copies, margins, scaling or colour print are available below but rarely needed in everyday use.
 Print settings - duplex and scaling
Tip - print Office attachments: Enable Convert Office files to PDF further down so that Word, Excel and RTF attachments print reliably on any printer. The conversion runs inside the program; no Office installation is required. PowerPoint attachments are not currently supported.
Step 5: Set the attachment filter
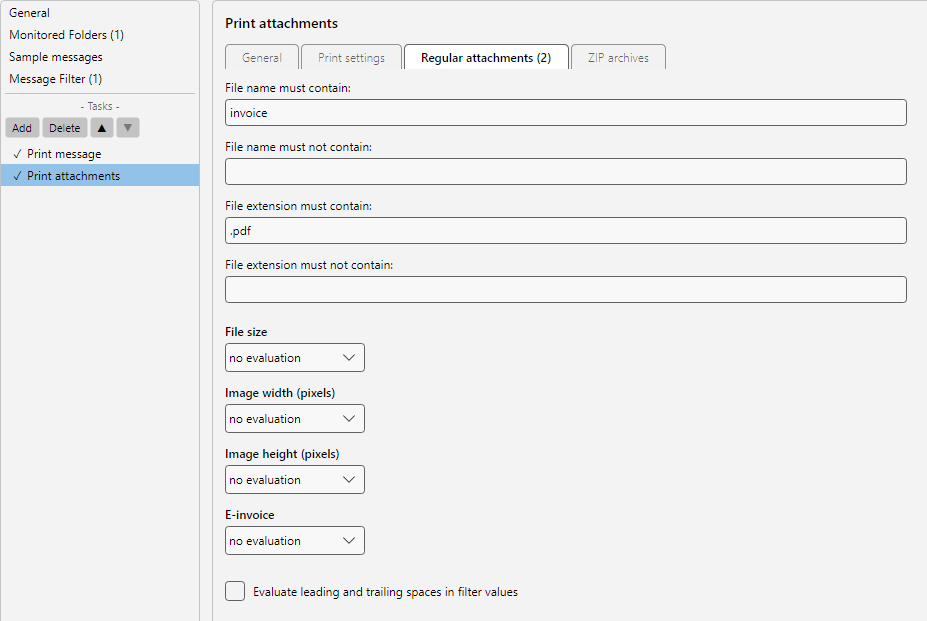
Switch to the Regular attachments tab to print only specific attachments. Without a filter, every attachment of the message is printed.
| Field |
Example |
Effect |
| File name contains |
Invoice |
Only attachments with “Invoice” in the file name are printed |
| File name does not contain |
Banner |
Marketing material is excluded |
| File extension contains |
.pdf |
Only PDF attachments - Excel and Word are skipped |
Multiple search terms can be combined with <OR> and <AND> - identical syntax to the Save attachments and Forward email tasks.
 Attachment filter
Step 6: Unpack ZIP archives (optional)
If suppliers often deliver invoices as ZIP archives, the program can unpack the contents automatically before printing. Switch to the ZIP archives tab, enable Print ZIPs and - for password-protected archives - enter the password.
Inside the ZIP, a separate filter applies, so e.g. only .pdf files are printed from a ZIP archive.
Step 7: Save and test the profile
- Close the profile editor with OK.
- Click Check now in the bottom status bar to trigger the next run manually.
- Send yourself a test email with an attachment, or use Catch up… in the profile toolbar to test the profile against existing mailbox content.
The log list shows for every processed message which print jobs were generated. Double-click an entry to open the processing detail with printer name, page count and any error messages from the print spooler.