Step-by-step instructions for automated printing of PDF files with Automatic PDF Processor for Windows
At a Glance
- Difficulty: Beginner (no data extraction required)
- Time required: ~10 minutes
- Prerequisites: Getting Started tutorial
- Tasks used: Print file
Introduction
This tutorial will show you how to set up an Auto-Print Hot Folder so that all new PDF documents placed in this folder will
automatically print to the designated printer. After creating the profile, you can optionally use the Catch-up function from
the upper toolbar to print a batch of PDF files already existing in that folder.
Create a new profile
First, click on the button labeled "New profile..." in the upper toolbar of the main window. The program creates a new profile and
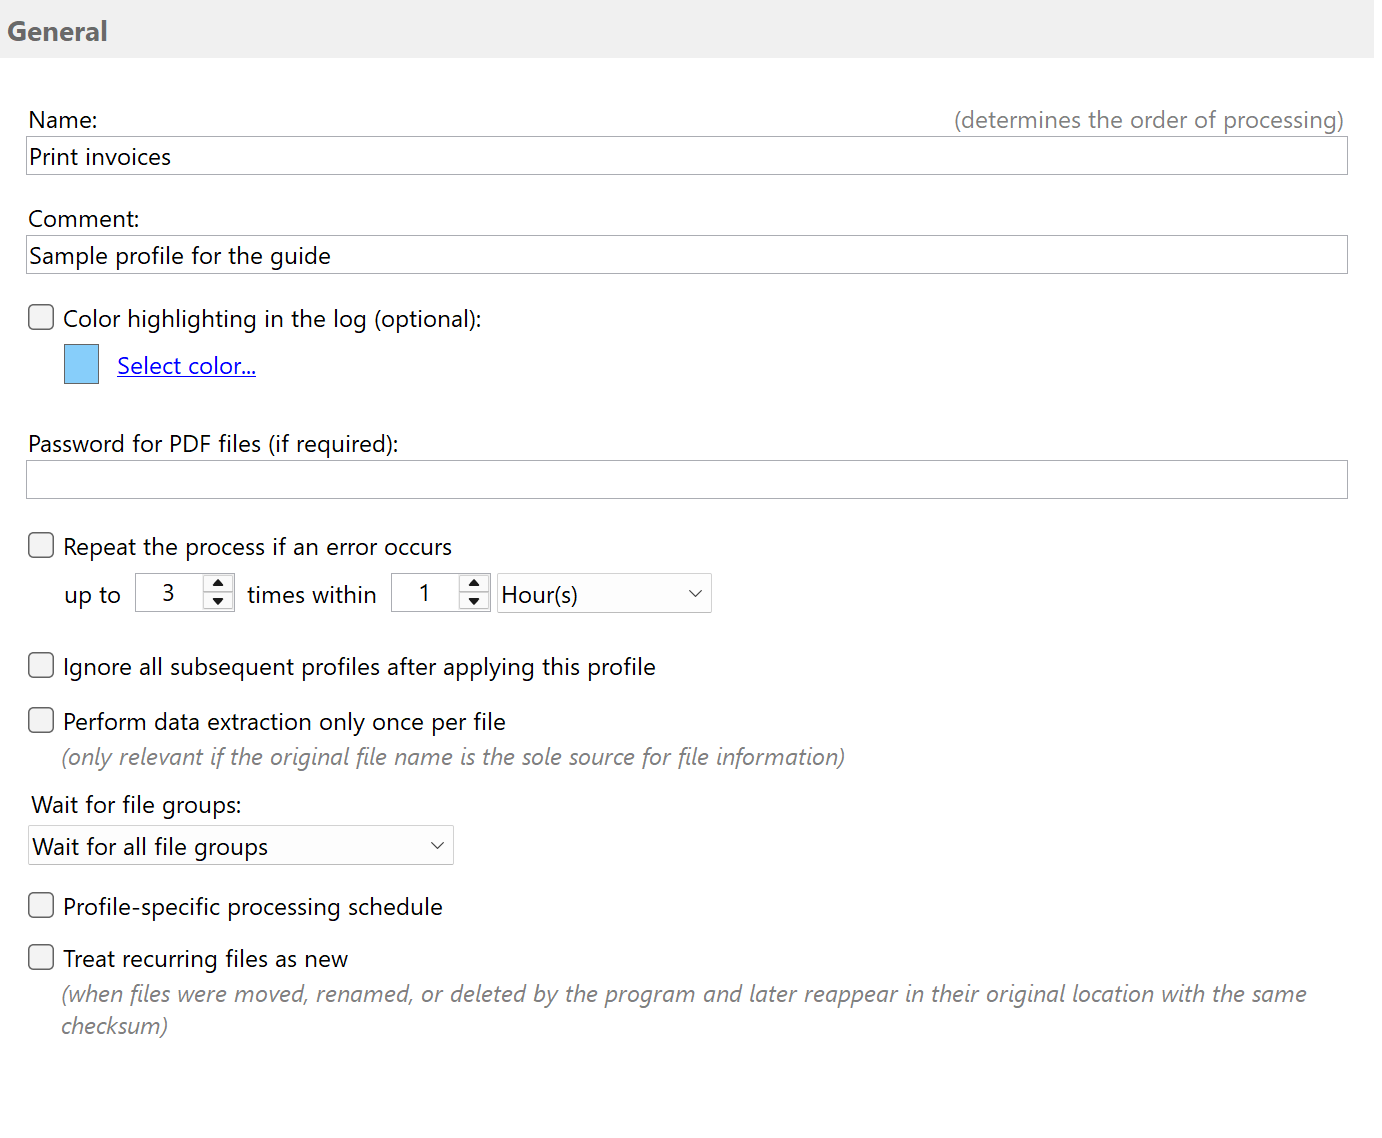
opens it in the configuration editor. Give the profile a name (e.g., Print invoices) and optionally enter
a comment. You can highlight the profile in the log list to better distinguish between the tasks
performed. To do this, activate the option "Color highlighting in the log" and use the button
"Select color..." to define a unique color for the profile.
Specify the folder to be monitored
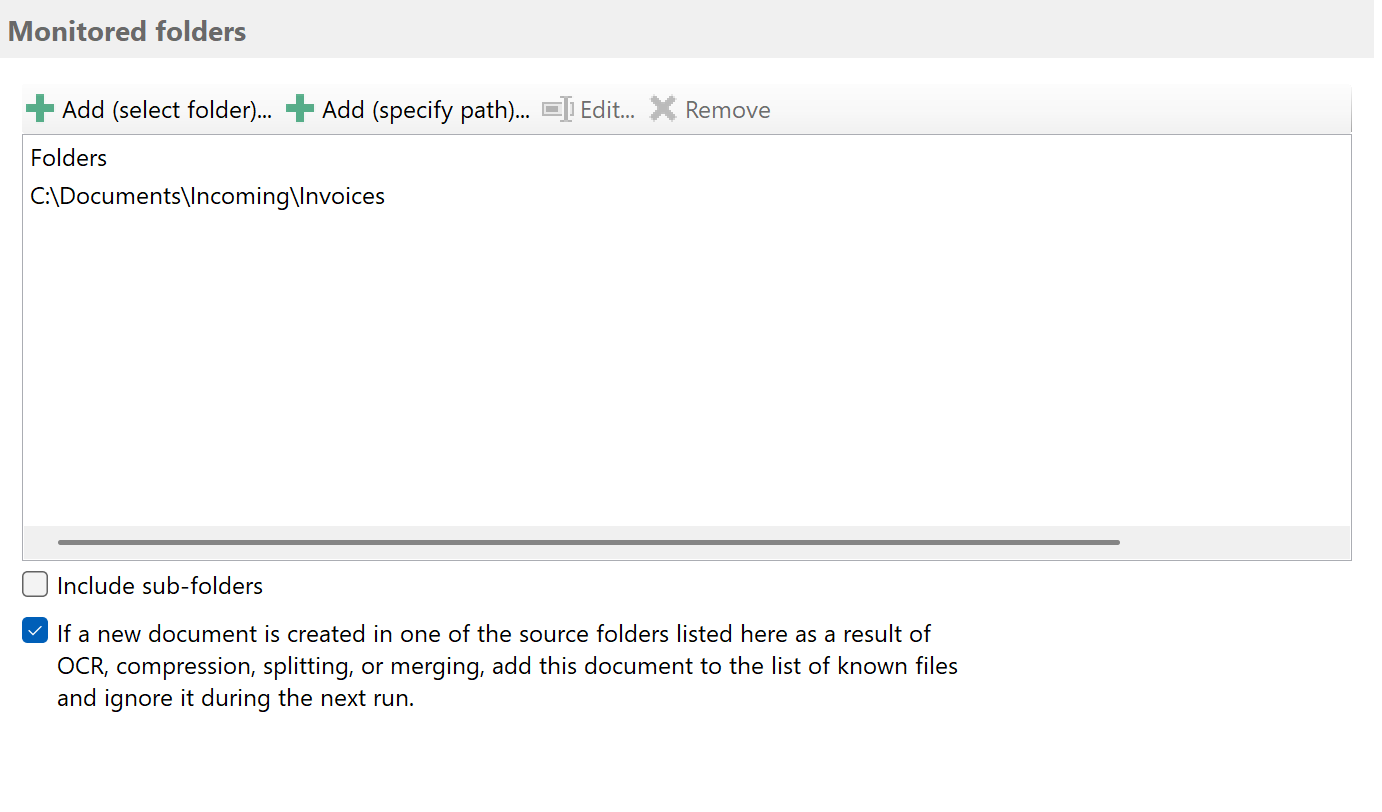
Select one or more folders to monitor for new PDF files by clicking on Add. New PDF documents matching the filter
criteria will be directly sent to the printer. You can optionally activate the option
Include Sub-folders to have the program auto-print PDF files from all sub-folders.
Configure filters
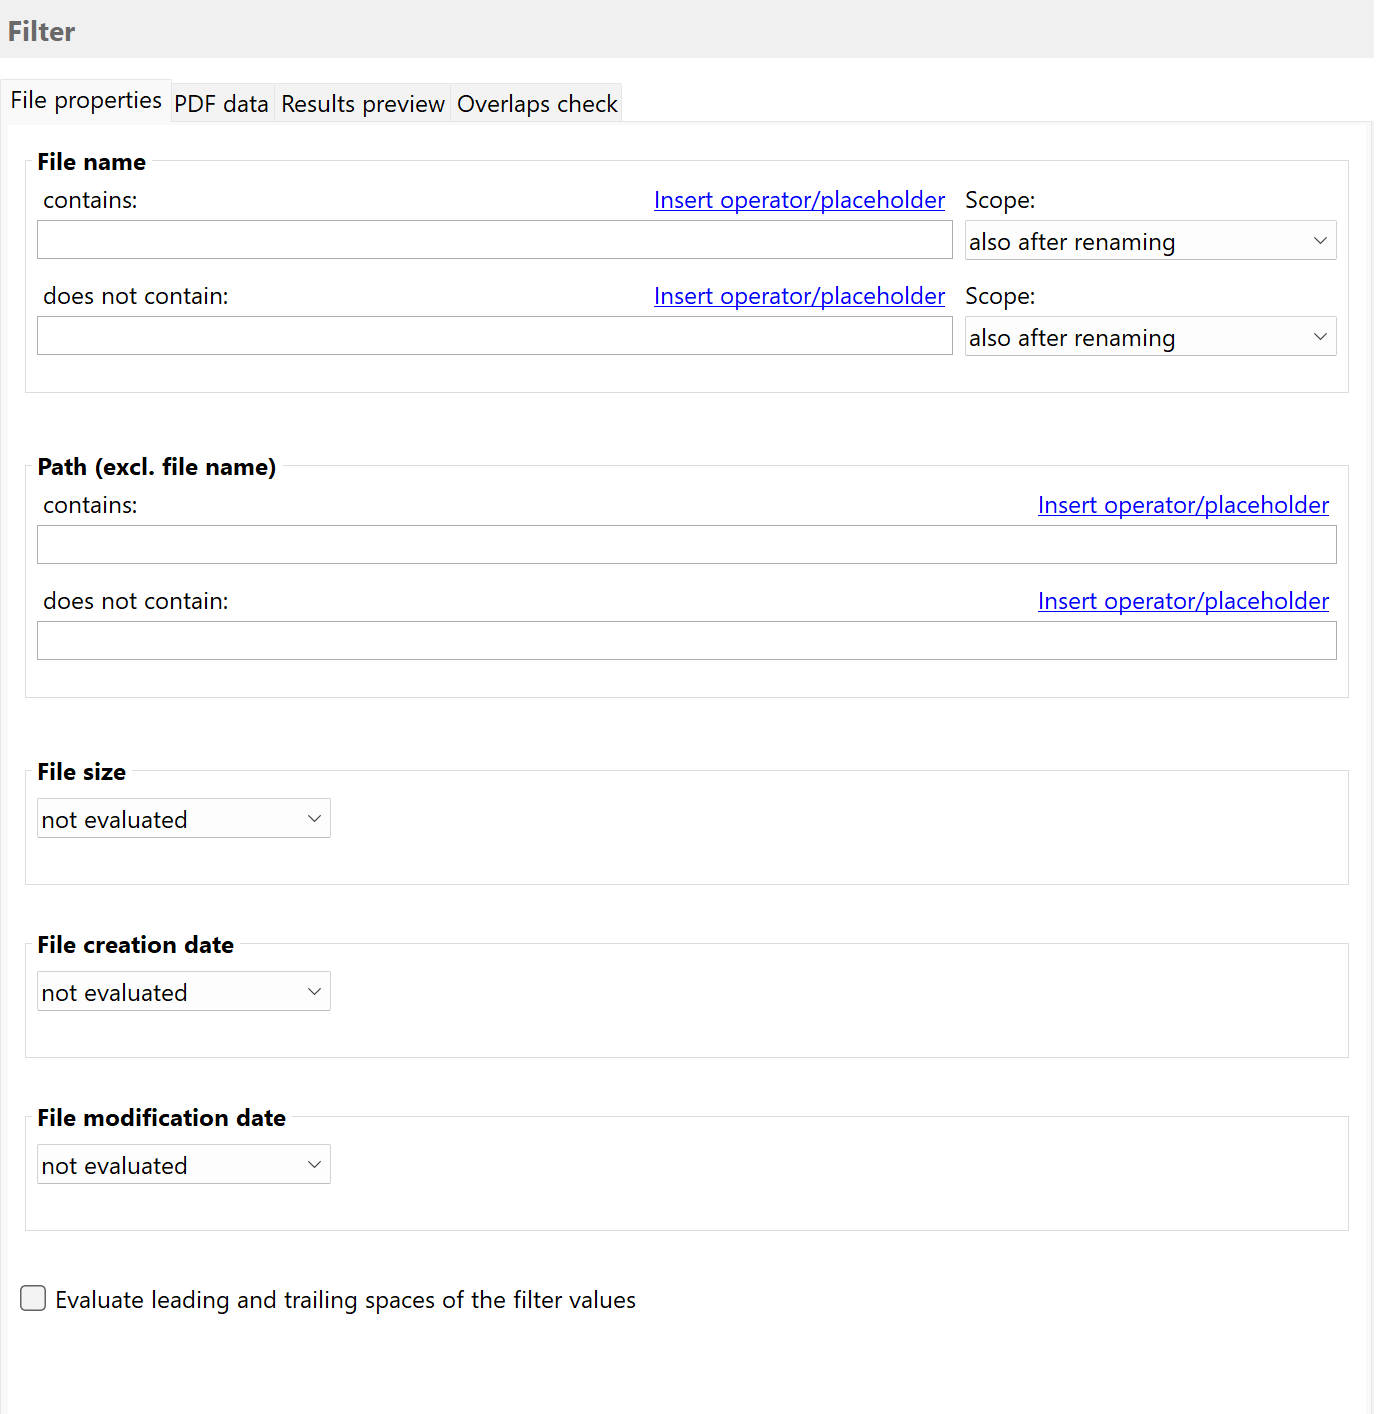
Set the filter criteria to ensure that only relevant PDF files are printed automatically. For example, enter a term
that absolutely must appear in the PDF document and/or a part of the file name.
Activate and configure task Print File
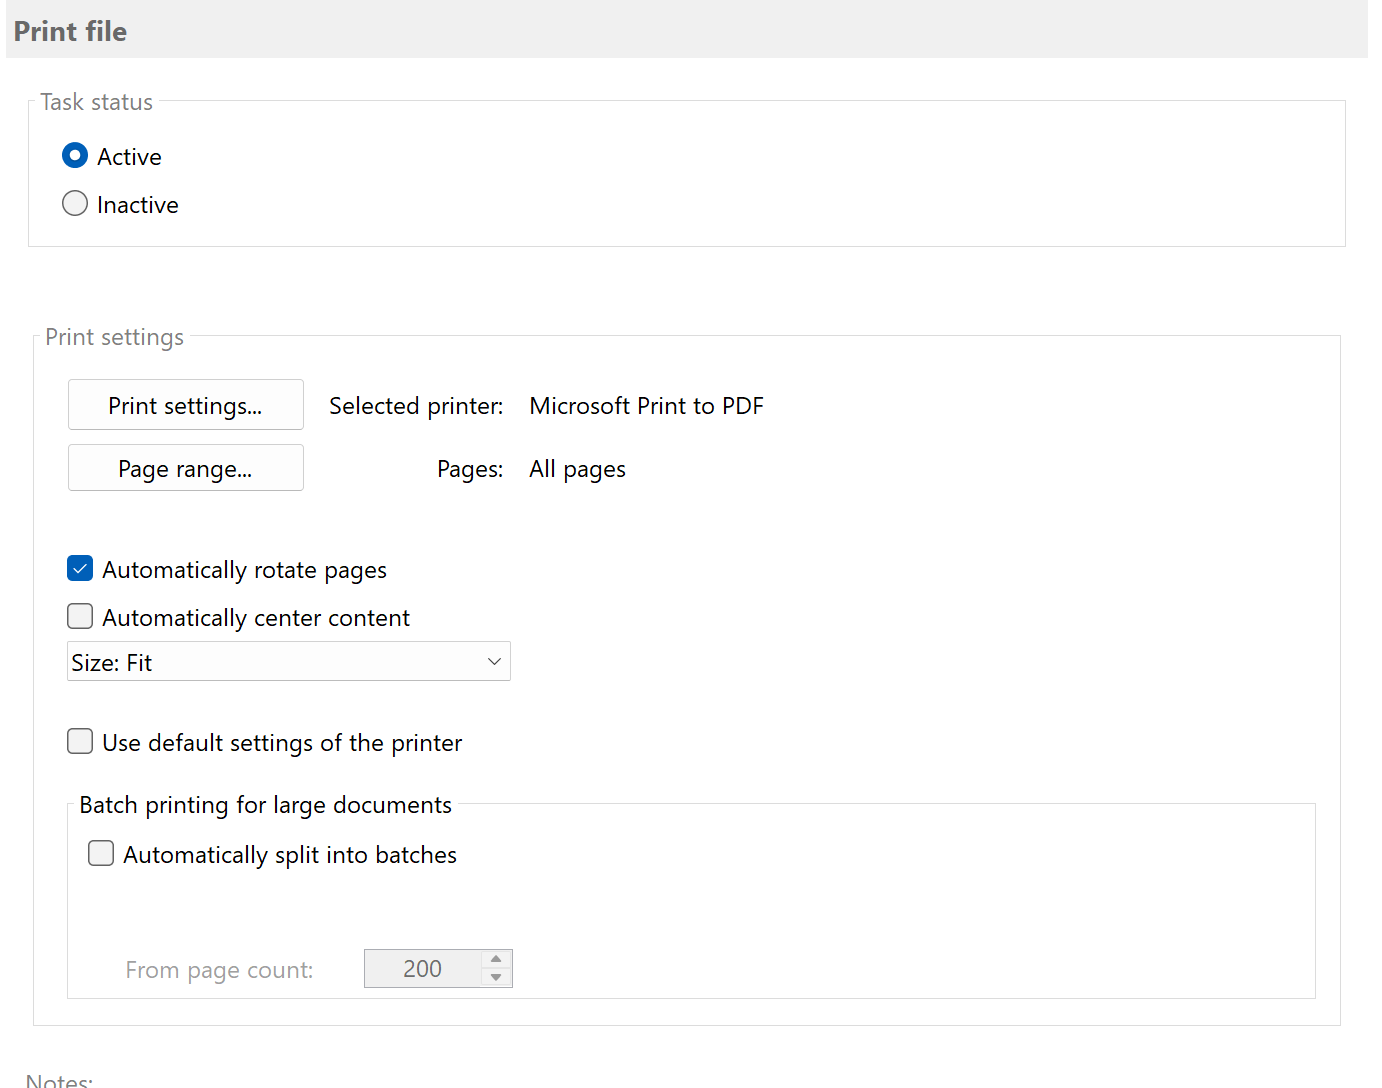
Select the task type Print File and set the task status to Active. Then click Print Settings to open the dialog to select the printer and, if needed, specify
some print options such as the paper tray or the number of copies. You can optionally exclude pages from printing
or print only certain PDF document pages using the Page Range button.
The program can also print a file on multiple printers. To do this, make the appropriate settings on the 2nd Printout or 3rd Printout tab.
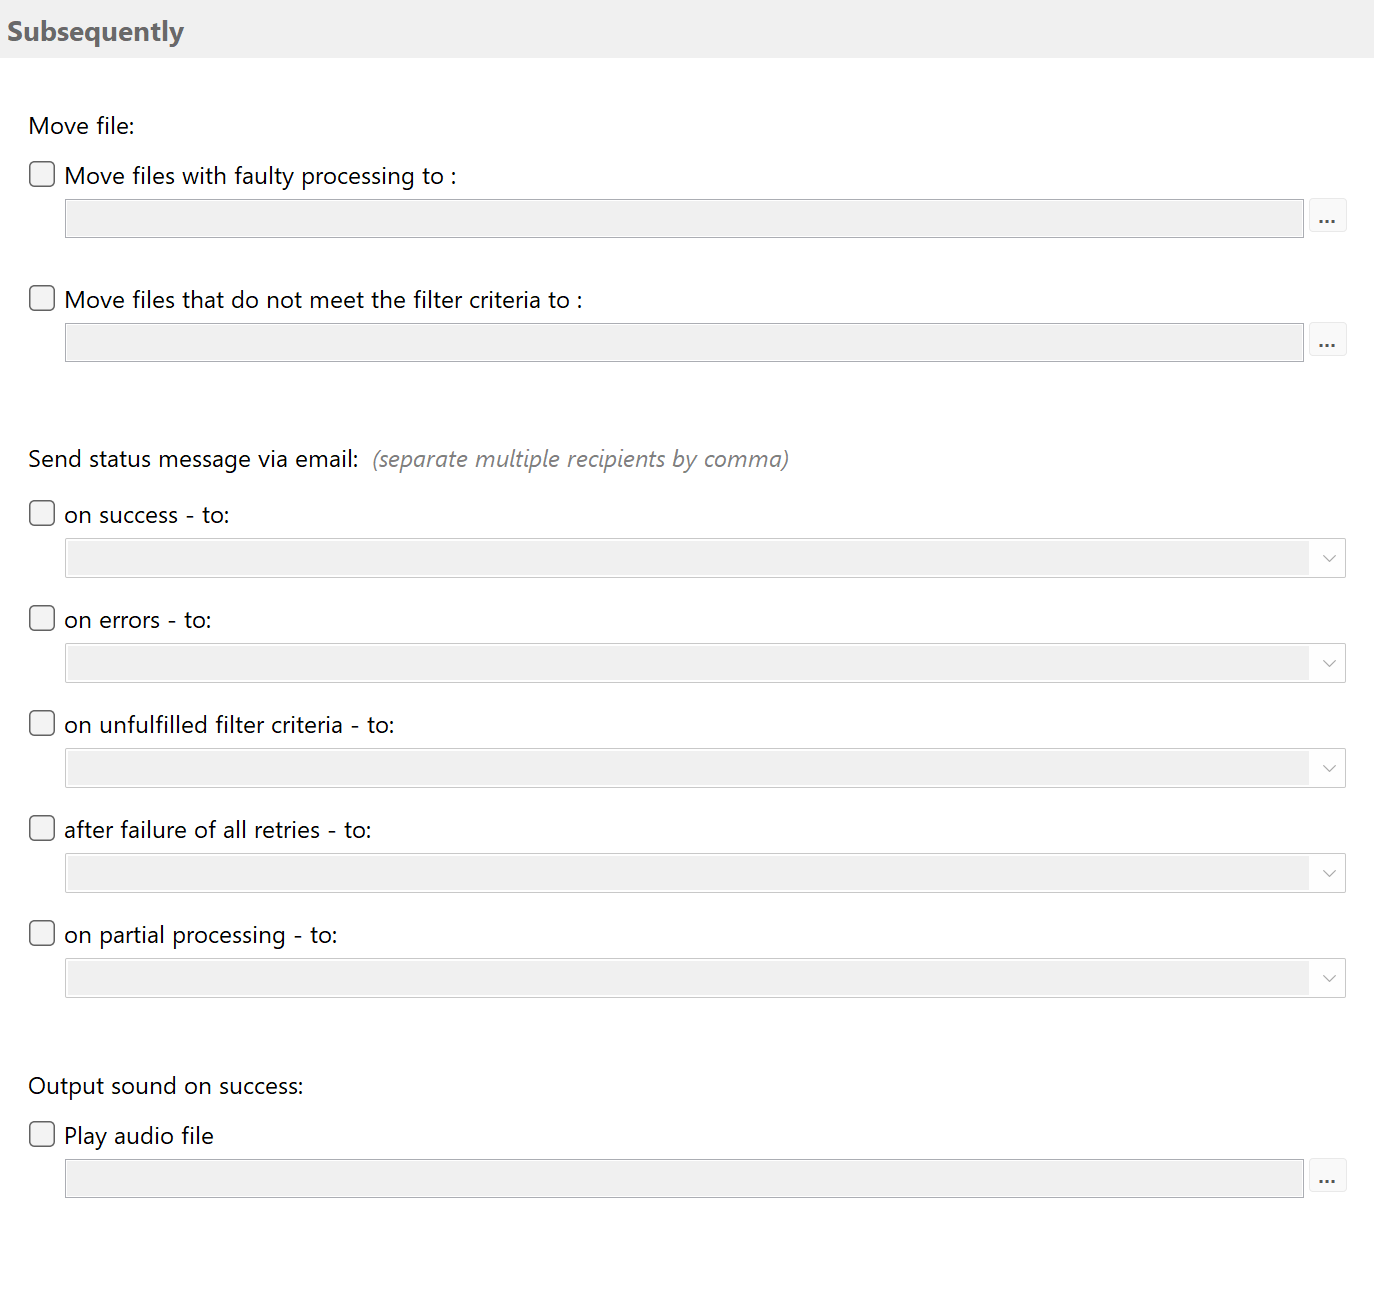
Notifications
The next step is to specify whether status messages regarding the processing of each PDF file should be sent to a particular
email address. Notifications can be sent through your default Outlook account, an SMTP server, or Exchange Online.
After successfully printing the PDF file, any sound file can be played.
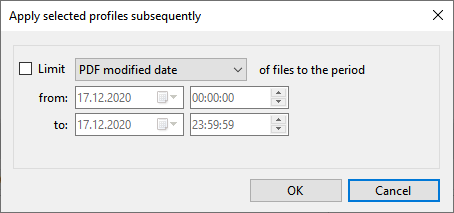
Catch-up (print older PDF files)
Finally, there is the option to apply the configured profile to all PDF files of a certain period, i.e., batch print all
matching PDF files. To do this, select the created profile in the profile list and click on Catch-up. Otherwise,
the profile will be applied only to all newly filed PDF files of the monitored folders.
Result
After completing this configuration, your profile will automatically:
- Monitor the specified folder(s) for new PDF files
- Check each file against your filter criteria (if configured)
- Send matching PDFs directly to the configured printer
- Print with your specified settings (copies, paper tray, page range)
- Log all print operations in the main window for review
Tip: Configure multiple print tasks in one profile to print to different printers
or with different settings (e.g., one copy to archive printer, two copies to main printer).