34 Redact Text
 Task: Redact Text
34.1 Description
The Redact Text task permanently and irreversibly removes sensitive text areas from a PDF document. The areas to be redacted are determined via data extraction rules. Unlike a purely visual overlay, the underlying text is actually removed from the document.
Important: True Redaction
With true redaction, text is not just visually covered but physically removed from the PDF. The redacted areas cannot be restored — not even through copying, searching, or technical analysis.
Typical Use Cases
- GDPR Compliance: Remove personal data such as names, addresses, or account numbers from documents
- Anonymization: Anonymize documents for distribution to third parties
- Confidential Information: Remove salary data, social security numbers, or internal reference numbers
- Authority Requests: Prepare documents for information requests in a privacy-compliant manner
- Archiving: Remove sensitive data before long-term archiving
34.2 General Settings
Enabled
Enable this option so the task is executed for matching PDF files. Disabled tasks are skipped.
34.3 Redactions
 Redactions
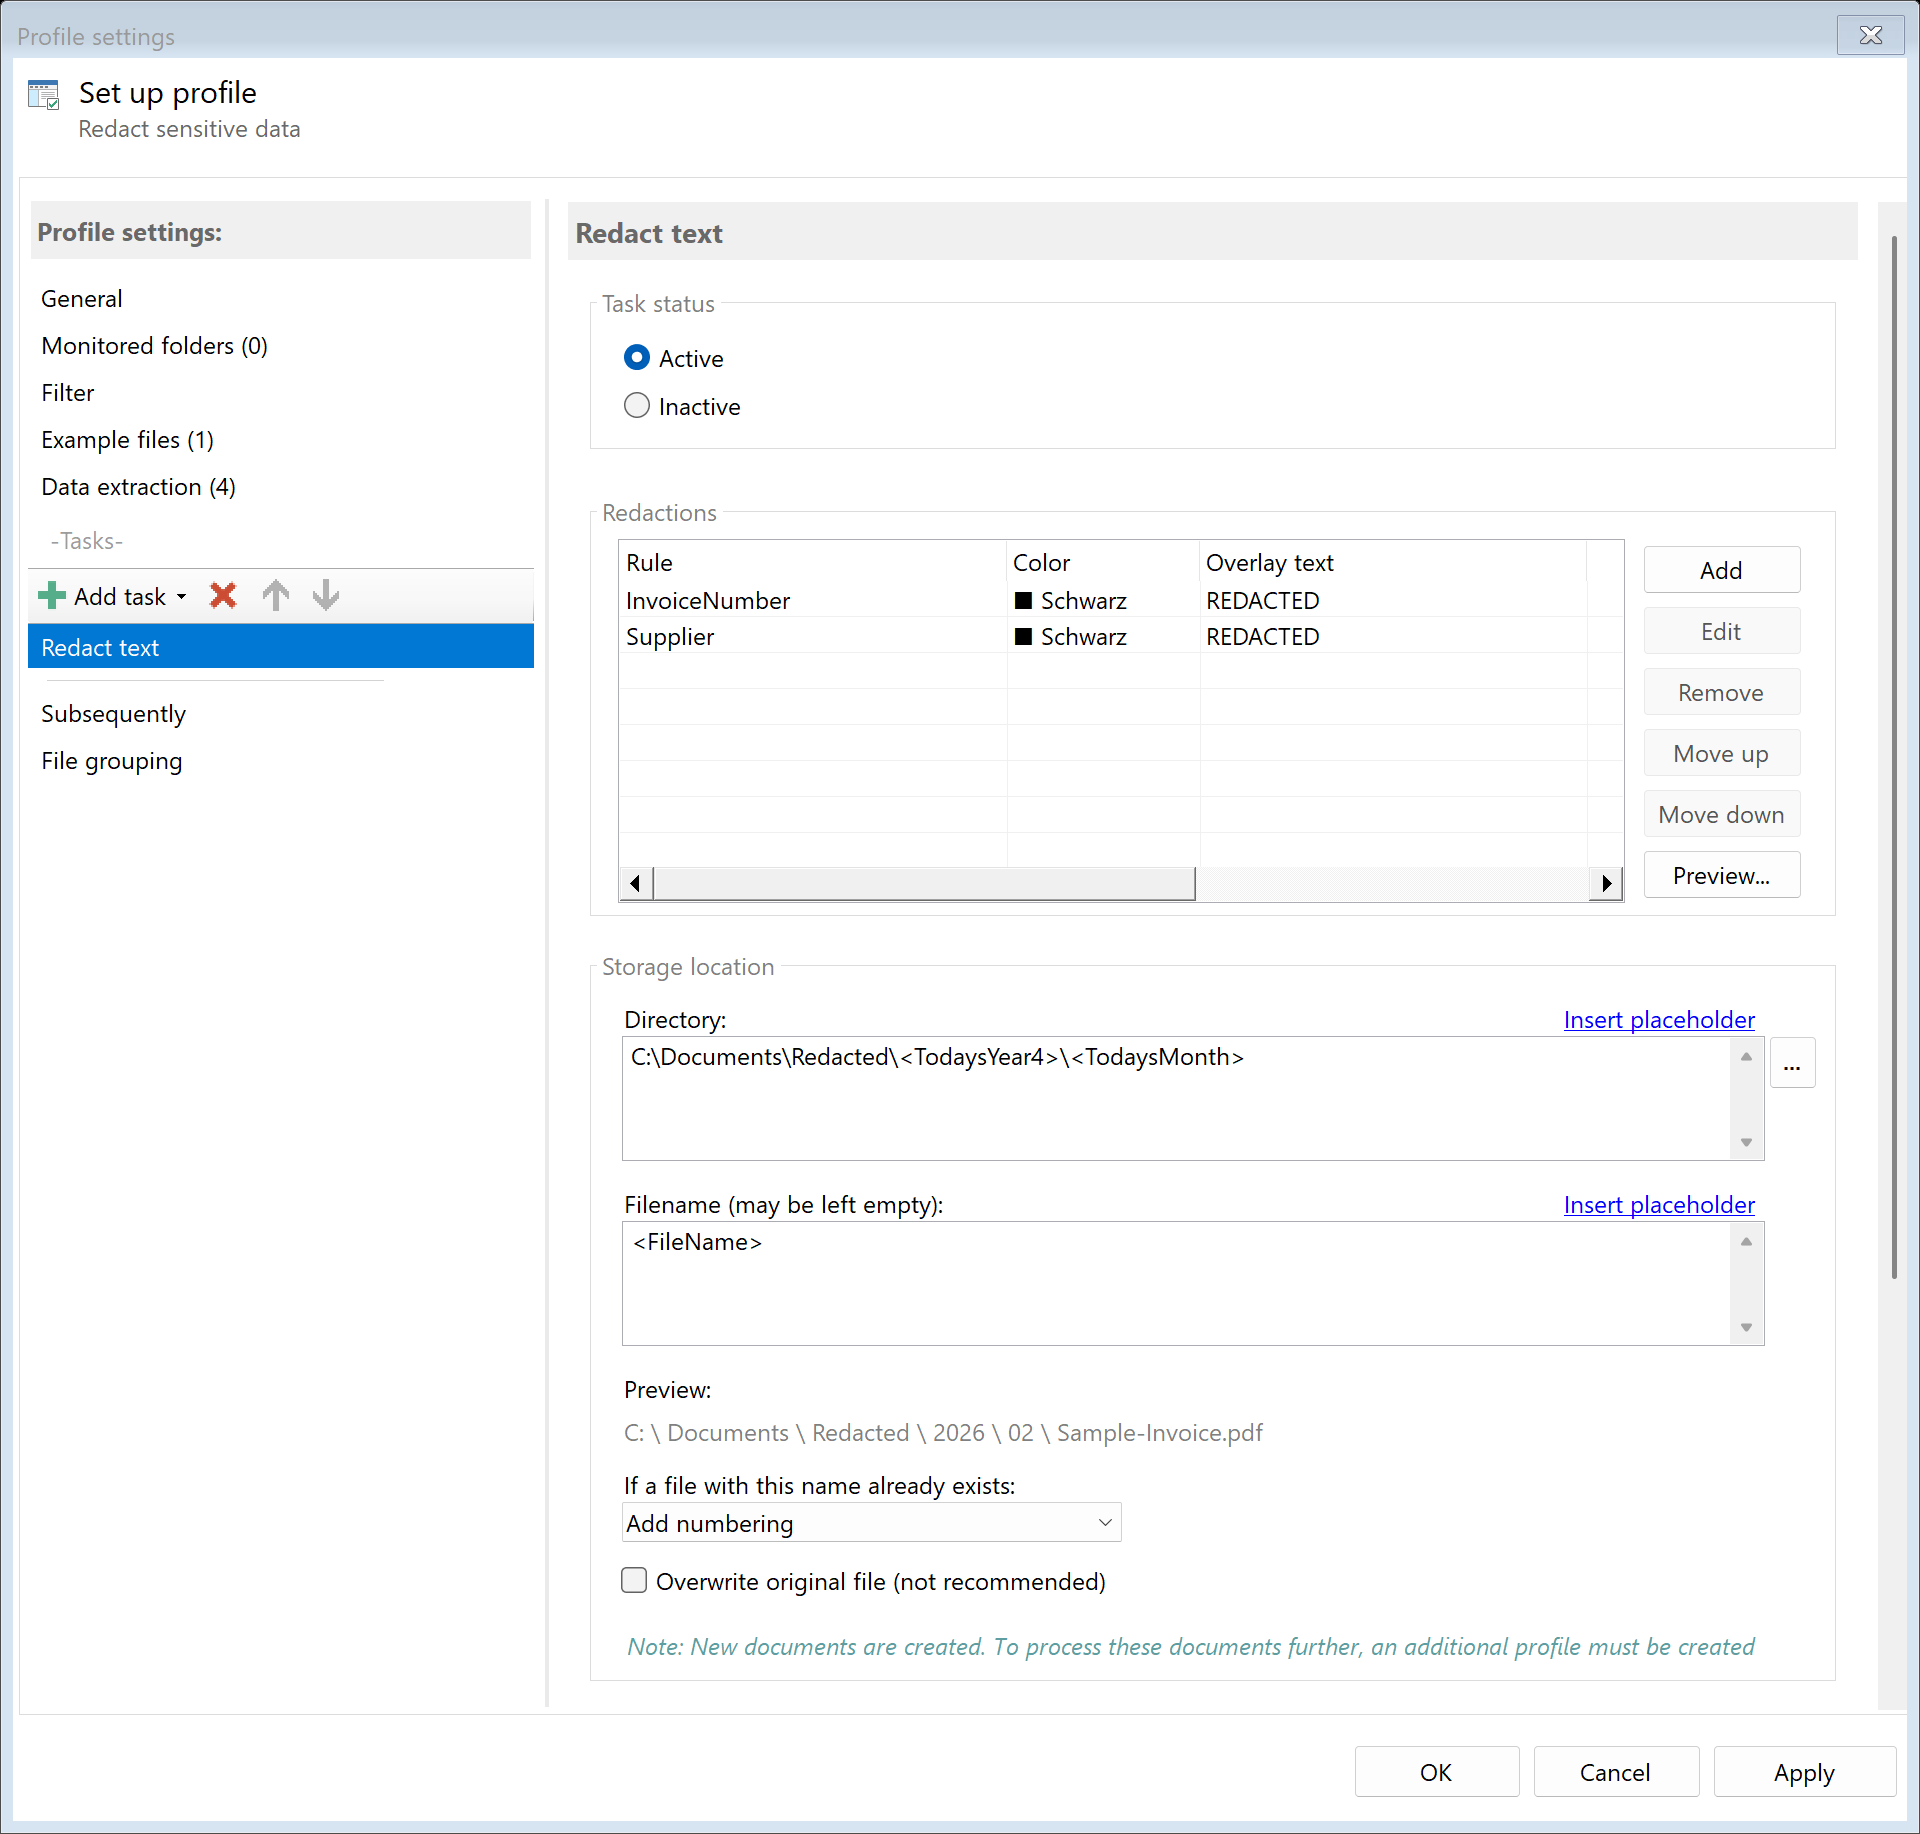
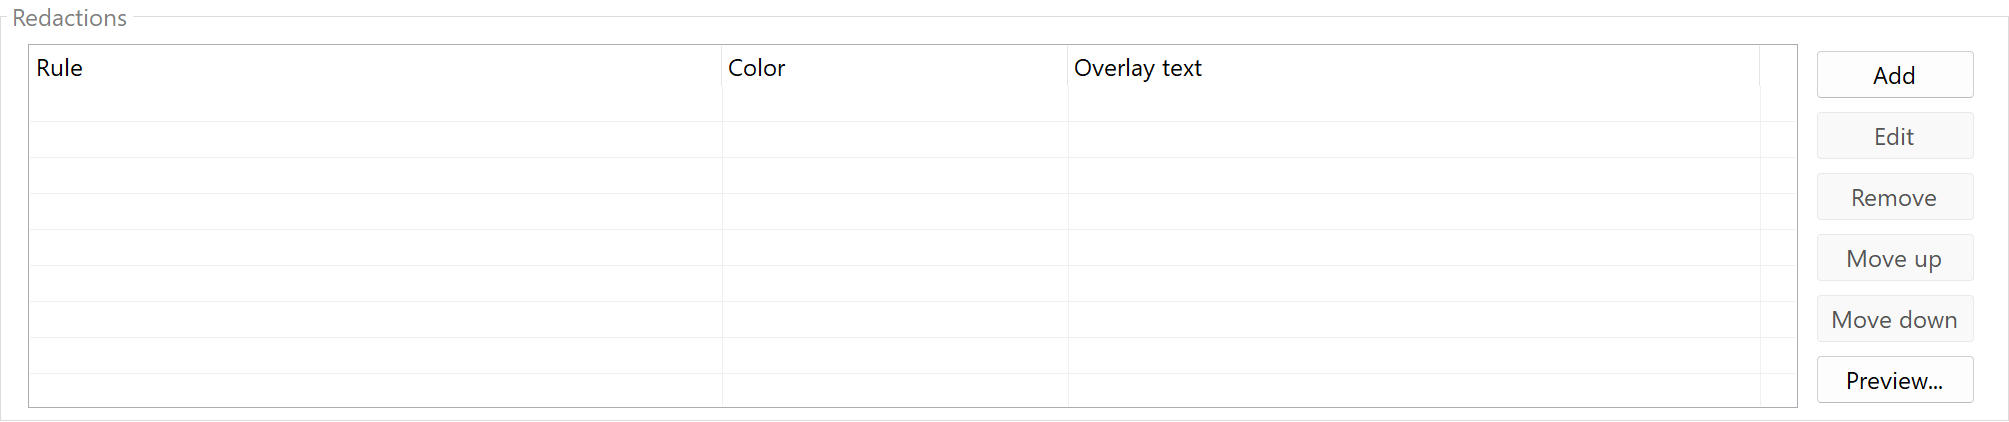
In the redactions list, you define which text areas should be redacted. Each entry references a data extraction rule and specifies the appearance of the redaction.
Redaction Entry
Each entry consists of:
| Property |
Description |
| Rule |
The data extraction rule that determines the text area to be redacted |
| Color |
The color of the redaction rectangle (default: Black) |
| Overlay Text |
Optional text displayed over the redaction (e.g., “REDACTED”) |
Managing Redaction Entries
| Button |
Description |
| Add |
Create a new redaction entry |
| Edit |
Edit the selected entry |
| Remove |
Delete the selected entry |
| Move Up/Down |
Adjust the order of entries |
| Preview |
Preview redactions using the example files |
Rule Reference
Redaction uses your data extraction rules to locate the text areas to be redacted. First create an extraction rule that finds the desired text, then reference it in the redaction configuration.
Example: A rule “Name” extracts the recipient’s name. In the redaction configuration, this rule is selected — the found text area is then redacted.
Preview
With the Preview button, you can check the redactions in advance using the example files stored in the profile. This ensures that the correct areas are redacted before processing starts.
34.4 Storage Location
Directory
Specify the target directory for the redacted PDF file.
Note: It’s recommended to use a separate folder for each processing step to ensure clear separation.
Filename
Set the name for the processed file.
Examples:
| Input |
Result |
| (empty) |
Contract.pdf (original name) |
<FileName>_anonymized |
Contract_anonymized.pdf |
Name Collisions
Choose what should happen if a file with the target name already exists.
Overwrite original file
When this option is enabled, the source file is overwritten directly. The settings for directory, filename, and name collisions are ignored — the processed file replaces the original file at the same location.
Warning: This option is not recommended as the original file is irreversibly lost. Only use this option if you are certain that you no longer need the original.
Note: All subsequent tasks in the same profile will operate on the newly created (overwritten) file.
34.5 File Date
Adjust Creation and Modification Date
Optionally, you can change the file date of the processed file.
34.6 Afterwards
Call External Program
After redaction, an external program can be started automatically.
Parameters: Available placeholders: - <PathIncludingFilename> - Full path of the processed file - <ParentDirectory> - Path of parent folder - <Filename> - Filename
34.7 Example: Anonymize Personnel Data
Initial Situation
Pay slips contain personal data (name, address, account number) that must be redacted before forwarding to the accounting department.
Configuration
- Create Data Extraction Rules:
- Rule “Name” — Extracts the employee name
- Rule “Address” — Extracts the mailing address
- Rule “IBAN” — Extracts the account number
- Redaction Entries:
- Rule “Name” → Color: Black, Overlay Text: “REDACTED”
- Rule “Address” → Color: Black, Overlay Text: “REDACTED”
- Rule “IBAN” → Color: Black, Overlay Text: “REDACTED”
- Directory:
D:\Accounting\Anonymized
- Filename:
<FileName>_anonymized
Result
| Original |
Processed |
| Name: John Smith |
Name: █████████ REDACTED |
| IBAN: GB29 NWBK 6016 1331 9268 19 |
IBAN: █████████ REDACTED |
34.8 Example: Remove Confidential Reference Numbers
Initial Situation
Contracts contain internal reference numbers that should be removed before distribution to external partners.
Configuration
- Create Data Extraction Rule:
- Rule “Reference” — Extracts the internal reference number (e.g., by keyword “Ref:”)
- Redaction Entry:
- Rule “Reference” → Color: White, Overlay Text: (empty)
- Directory:
D:\Contracts\External
- Filename:
<FileName>
Result
The reference numbers are covered with white rectangles and the text is removed. Due to the white color and missing overlay text, the redactions are visually unobtrusive.
34.5 Tips and Notes
The quality of redaction depends directly on the quality of your extraction rules. Test the rules thoroughly with example files before enabling redaction.
Use the Preview
Use the preview function to check redactions before productive processing. This helps avoid unintended redactions or overlooked areas.
Color Selection
| Color |
Usage |
| Black |
Classic redaction, clearly visible |
| White |
Unobtrusive removal, text “disappears” |
| Other Colors |
Color coding by category (e.g., red for names, blue for addresses) |
Overlay Text
The optional overlay text is displayed over the redaction. Typical texts: - “REDACTED” - “***” - “[REMOVED]”
Irreversibility
Redaction is irreversible. Create a backup copy first by placing a “Copy File” task before the “Redact Text” task.
Mind the Order
Place “Redact Text” before tasks like Copy, Move, or Send Email. This way, subsequent tasks work with the redacted document.
GDPR Compliance
The redaction function can contribute to fulfilling requirements of the General Data Protection Regulation (GDPR). However, note that proper implementation of data protection requires additional organizational and technical measures.